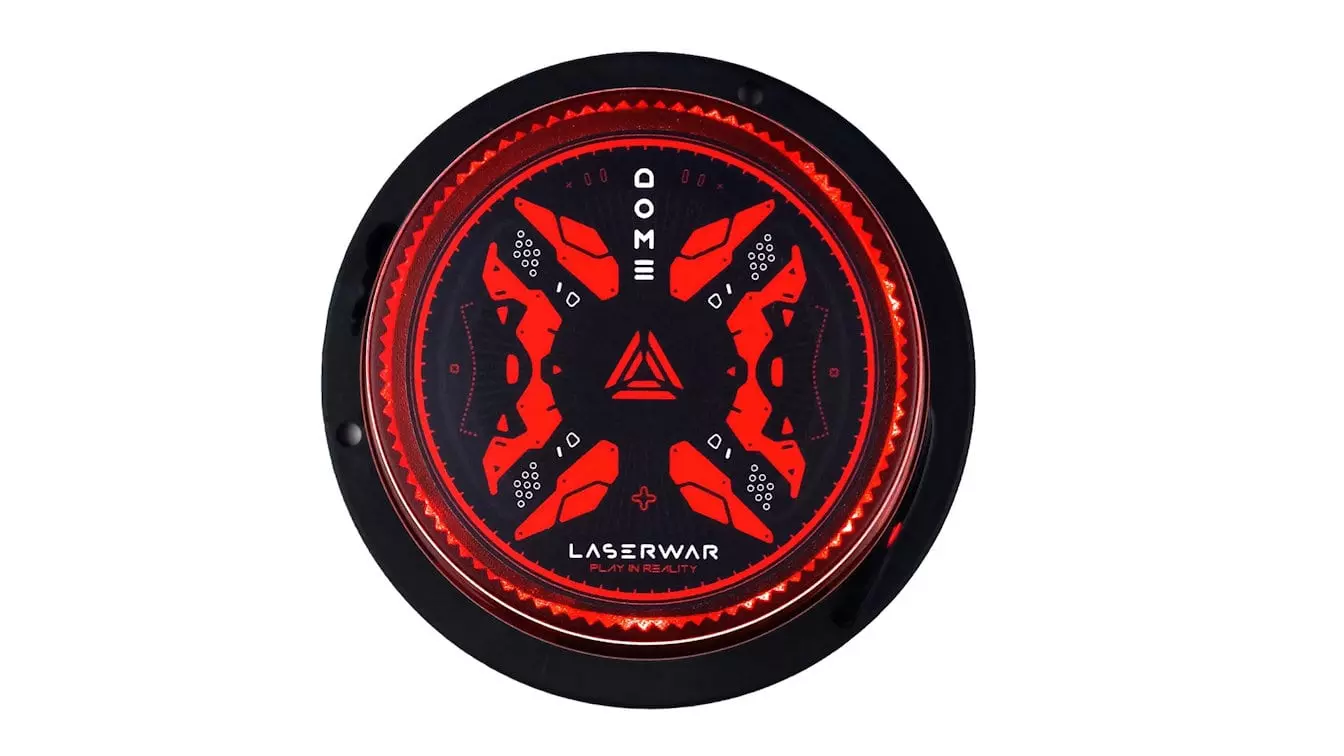
Dome - armored vehicle destruction system
|
WEIGHT
|
4.85 lb (2.2kg)
|
|
LENGTH
|
4.92 in (12.5 cm)
|
|
DIAMETER
|
6.7 in (17 cm)
|
|
BATTERY PERFORMANCE
|
Up to 48 hours
|
|
BATTERY TYPE USED
|
Li+ (2.2 Ah; 7,4V)
|
|
BATTERY CHARGER TYPE
|
Li+ (8,4V; 1000 mA) (additional option)
|
| NUMBER OF TSOP-SENSORS | 4 |
How to Use
The Dome is a unique hit sensor system that registers hit or series of hits from a laser tag gun or another IR emitter supporting MilesTag2 protocol and can trigger any other follow-up actions in addition to sound indication and LED effects.
The Dome system has electrical wires which can be connected to a relay that triggers anything an operator might need. Here are just some of the examples of how a business operator can use the Dome system:
- when installed on “armored” vehicles, “armored” personnel carriers, and “tanks” in large scenario games, the relay can activate squibs, firecrackers, smoke screens, and other fireworks, symbolizing the armored vehicles or any other object, building, ammo box, etc. destruction
- in arena games, the relay can trigger light and sound effects when completing certain missions that end the Dome is shot.
- in laser-tag-based quests or escape rooms, the relay can trigger the mechanism for opening door locks, safe boxes, jumping monster mannequins, etc.
- in go-karts and scenarios based on Mad Max or tank battles, the relay can stop the car engine.
What to Configure?
1. The number of device strength points that works the same as players' health points. It is the number of points that must be removed with a shot or series of shots in order to destroy the Dome.
2. Minimum perceptible damage. This hit sensor can be configured in such a way that guns with a certain damage parameter or above can only be registered by the Dome and deal damage to it. Thus, the operator can set the value of the damage for ordinary assault rifles a 5 points, for machine guns at 7, for heavy anti-material sniper rifles at 10, and for grenade launchers at 15 and adjust the Dome settings in a way that it could only be damaged with guns dealing 10 points of damage or higher. This setting simulates the armor protecting it and thus shooting from weapons dealing less damage than the minimum threshold won’t hurt the Dome in the slightest.
3. Detonate-when-receives-damage option. The Dome has wires via which the operator can start other devices, for example, fireworks. Thus, the operator can simulate an explosion after a critical hit to a motor vehicle.
4. Players' ID list. The game master can set up a list of specific players whose shots will be registered by the Dome. This will allow the game master to assign roles to certain players, for example, the role of a combat engineer or grenadier capable of destroying an object in a tactical game, or the role of a wizard able to open the doors of an escape room with a wave of their magic wand, and so on.
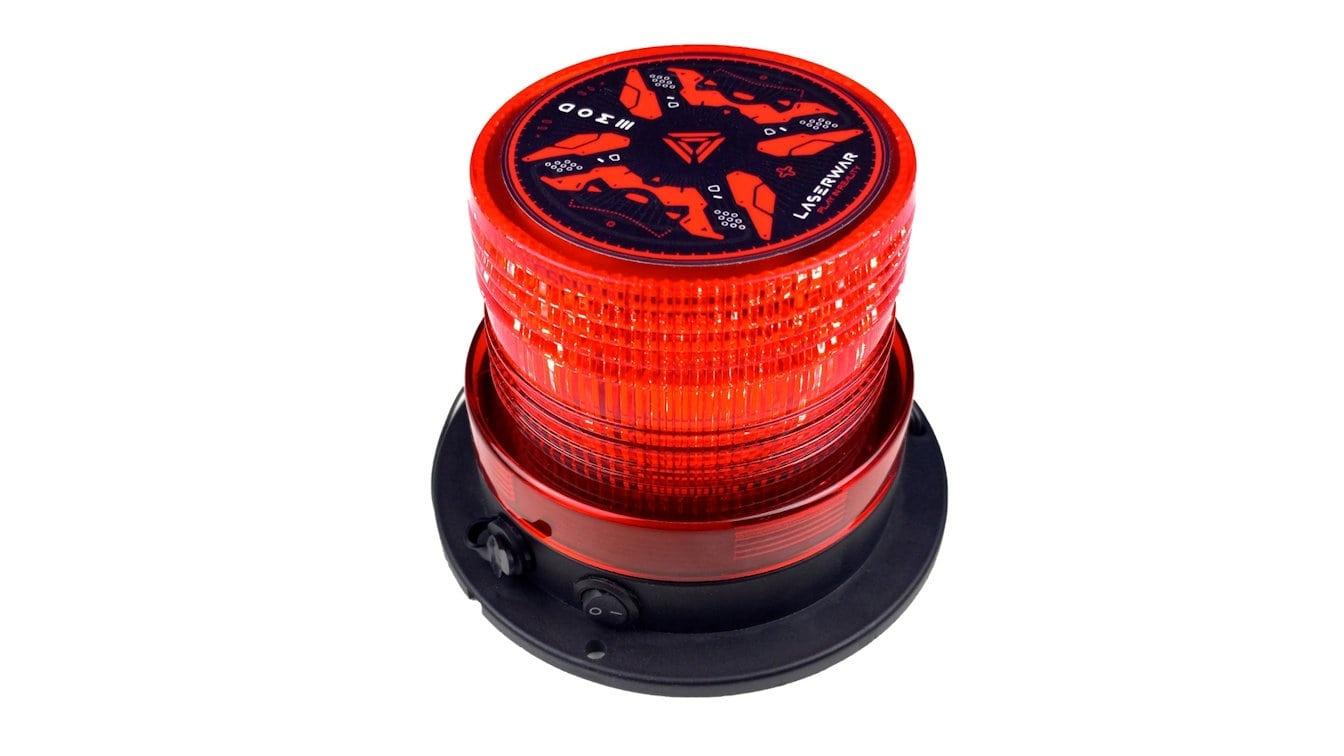
Device installation
The Dome can be attached to metal surfaces with a magnet mounted inside. In addition, this device has an eye at its bottom, allowing to install it on walls, ceilings, floors, and any other surfaces using screws and even plastic ties.
Characteristics
The weight of the device is only 1 lb (470 grams) and the bottom diameter is 5 in (13 centimeters), however, if it is too big for your purposes, you integrate the electronics into your shell using our DIY electronics kits.
Inside the device, there is a 2.2 Ah battery providing up to 48 hours of operation without further charge. The device is not waterproof however it will withstand high humidity, light rain, and snow.
The device has its own powerful light and sound indication which signals that it’s been hit.
Settings tips
To turn the device, press the button, which is located at the bottom of the case. Then the device performs an autotest of its RGB tape and speaker. Activation of the Dome can be made with the common remote control device or with MedKit, as it is usually done with all game sets that require further activation after switching them on. To adjust the Dome’s settings, use the Laser Tag Configurator application. Connect your USB-base to the PC, turn on the Dome and the device will be automatically switched to "admin mode".
To set up the device, the operator will need a USB Base or a Smart Remore Pro operating in the USB base mode.